Squirt Plans

Squirt Plans

Sunday, November 1, 2015

Overdue Update! 1956 Speed Queen Addition

So time has flown by the last year and I've been slacking on the Squirt project. I always wondered why some builders would take a few years to finish such a small boat, well now I know! Between a new job, new house, new boat project (see below), and busy wedding season it didn't leave me much time. Summers in Michigan go by too fast.

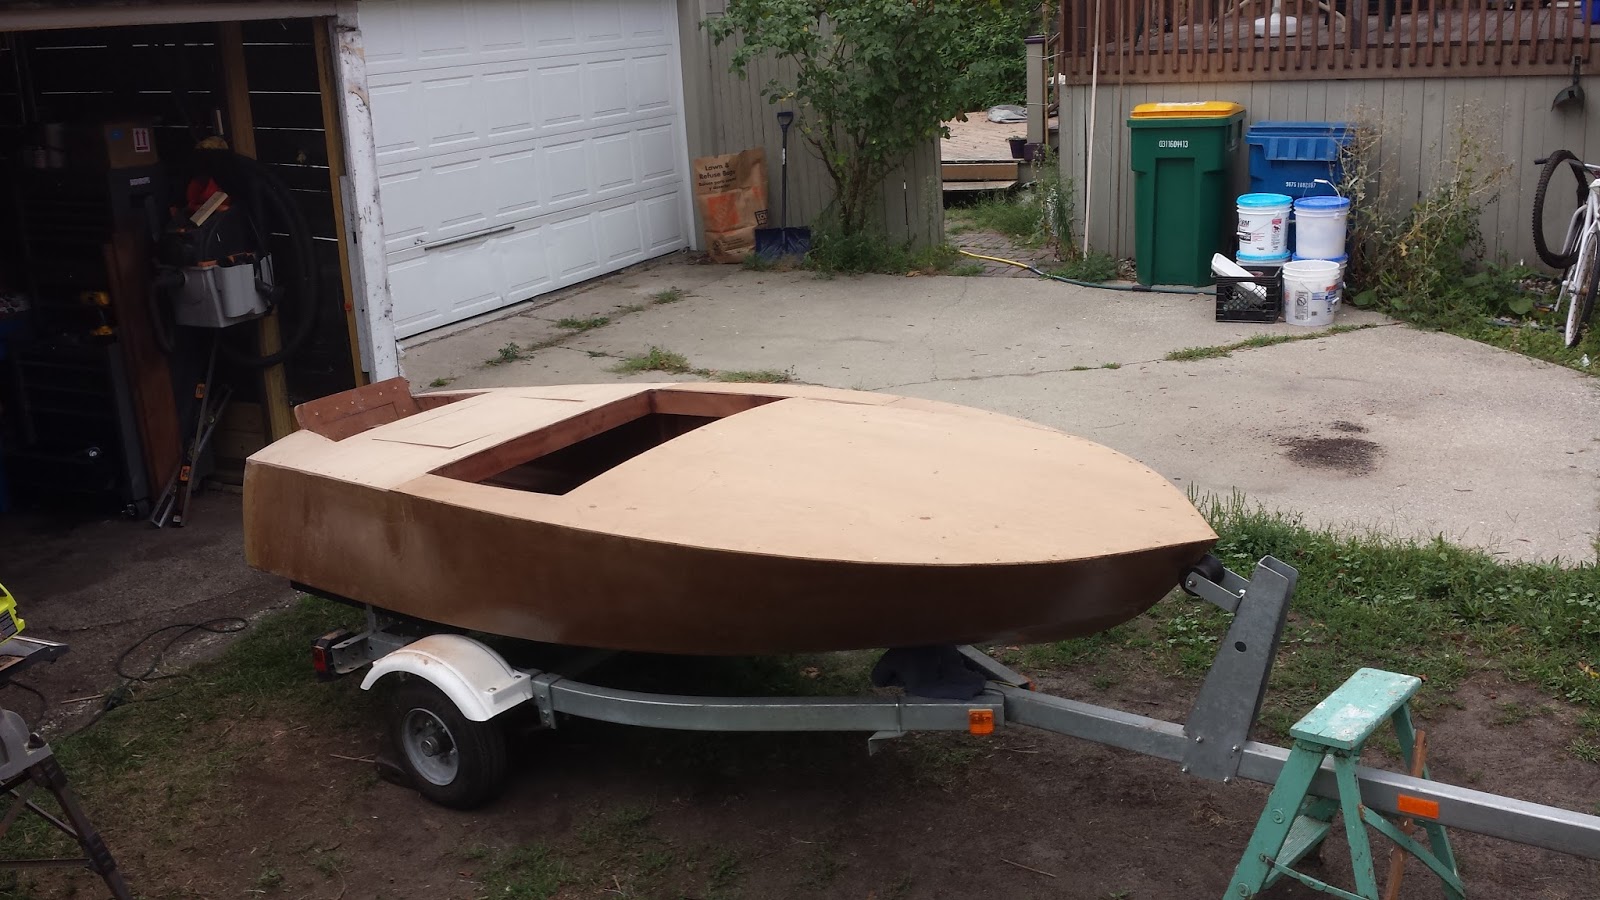
Concerning the Squirt, I've faired the hull smooth and encapsulated it with some coats of epoxy. I'm finally happy with the current status and am official ready for paint! I'm not sure how many times I've said that but I'm feeling pretty confident this time. I also took the Squirt to a boat show this spring in South Haven, along with my Mark 20 and Mark 20H (I also made it to the Spring Lake boat show but was sadly rained out).

As for my other project, I found a 1956 14' Speed Queen for sale on Craigslist for $100 and couldn't pass it up. Maybe it was the caffeine in that mornings coffee, but the duel benches and classic lines screamed potential. The Speed Queen is one of the first fiberglass models to come into production and it's super light (a 15 year old and I were able to carry it around the parking lot) with a fun layout. 

When I got it home I power-washed it, removed the cap, cut out the bench supports and transom, and started sanding. Click here to see more pictures on the entire process. My plan was to paint the Squirt and the Speed Queen at the same time but I ran out time. 

Unfortunately this will likely be the last update until Spring. I'm currently looking for a heated work space to continue the Squirt over winter, but it's hard to find a space large enough that won't break the bank. 

 Squirt at the South Haven Boat Show, along with my Mark 20 and Mark 20H

How I found the Speed Queen
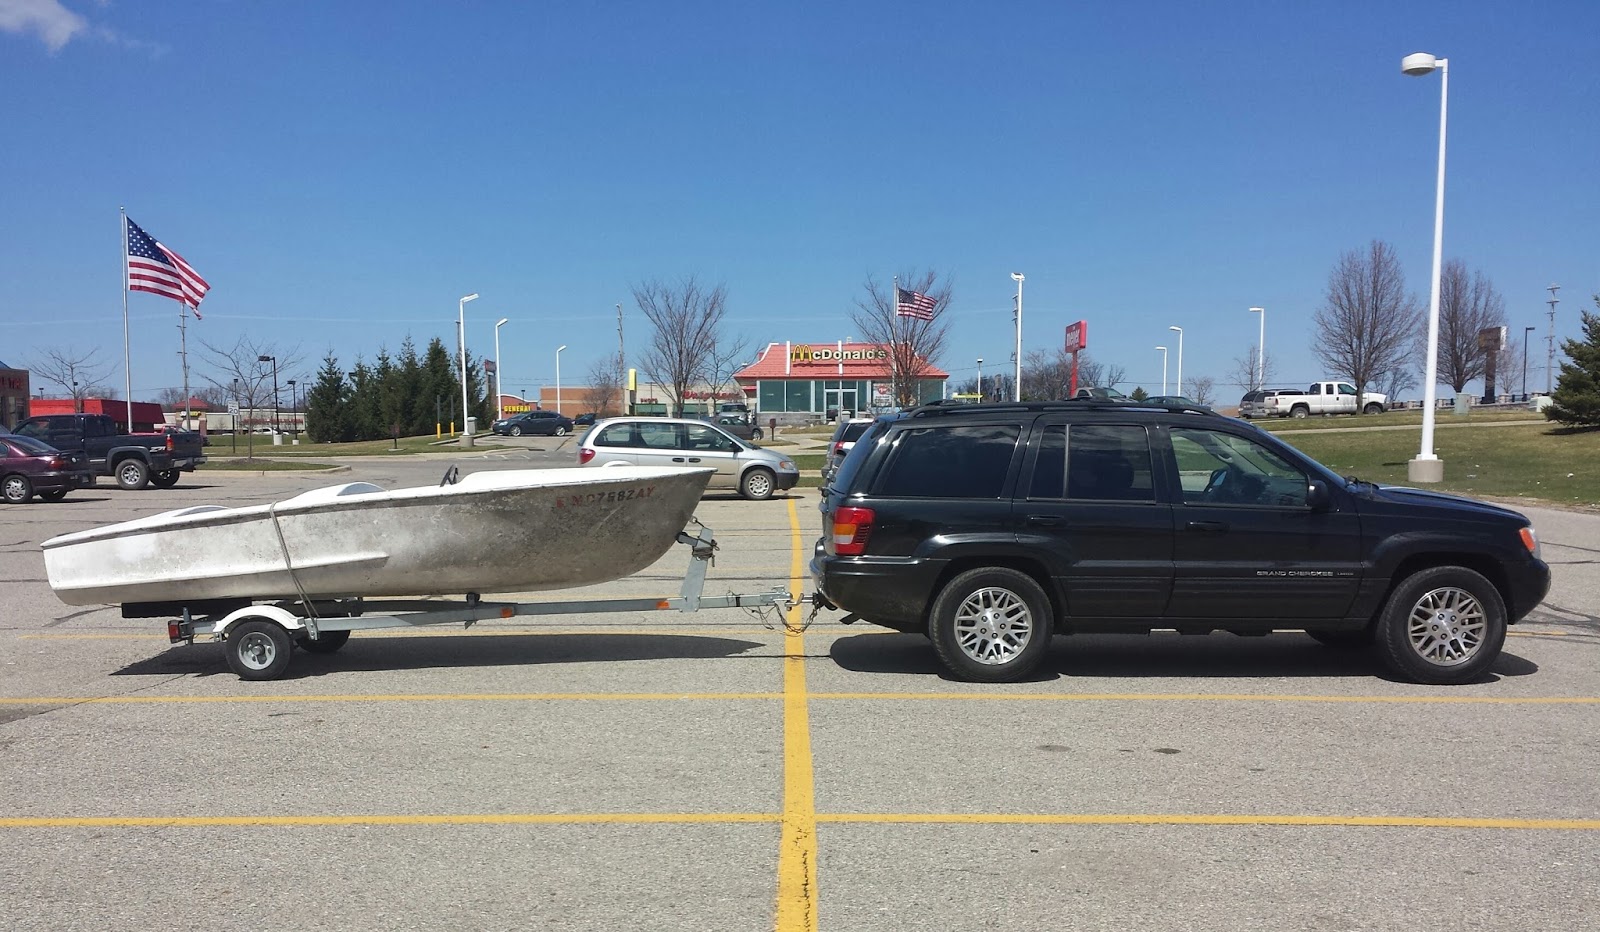
Driving her home

After removing the cap, rotten bench supports, rotten transom, rotten stem

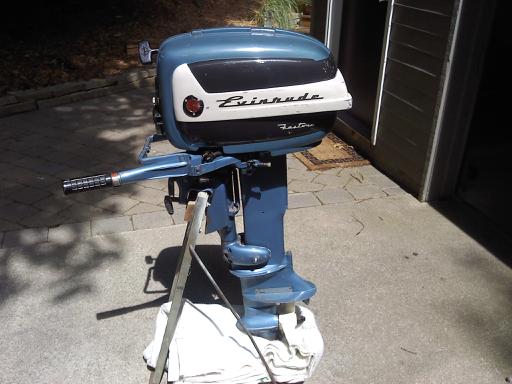
Ad from 1956, powered with a Mark 55. I won't be putting a windshield on

Monday, May 19, 2014

Building Resumes

After about 3 months of negotiating and dealing with the bank I bought a house that has the perfect garage for me to continue my Squirt build. I'm in the process of setting up a workshop and the build will resume shortly, hopefully this weekend.

The Squirt held up great over winter and after spending some time inspecting it, I'm going to continue with the painting process. I've also decided to add another coat of epoxy as I'm hoping to give the hull more of a base for sanding. Next I'll apply the fairing compound and once smooth, I'll add the primer.

As you'll see in the picture below, I picked up another boat. It's a 1967 Cherokee with a late 1960's 40 hp Evinrude. I bought it cheap at an auction and am probably going to do a quick turn around and sell it. I've only been in my house for a few weeks and the garage is already starting to fill up!


Thursday, September 19, 2013

Painting On Hold

After I flipped the boat I sanded the hull one last time. I started with a pass over with 150 grit and then switched to 180, using an orbital sander. Everything was pretty smooth by the time I finished but still I wanted to take out any low spots. I used a fairing compound from West System that was easy to work with. My only problem was I didn't make enough. I ended up having to do a second batch to finish and luckily everything worked out. To spread the compound I used two 6" cheap plastic squeegees, placing one over the other to make it stiffer. I would definitely recommend spending a few extra bucks and getting a nice one.

After I had finished applying the fairing compound I ran into my problem. I'm currently using my parents garage to hold my Squirt, which is fairly small, but I was planning to make a plastic sheeting-room inside to do my painting. The problem is my dad also uses the garage to hold his wine, in which he uses a wine cabinet that has an AC unit to keep the temperature controlled. This AC unit needs to have a decent amount of free space to intake air, as well as to blow it out. Because of this my plastic-sheeting room would need one side to be clear of the AC unit which would then blow dust all over the garage. I found this out the day after I applied my fairing compound and found dirt, grass, and anything else floating around which had found its way into the wet compound.

Unfortunately this means I won't be making my September splash date but it does mean I won't have to rush to complete it anymore. I'm currently in the process of finding a different place to work on it hopefully I'll be posting soon with some good news!

EDIT: Here's my working space. The picture is before the flip but you can still get an idea. You can see the wine cabinet on the very right side of the photo.


Saturday, August 31, 2013

Plywood Decking Installed, Flipped to Paint

I was finally able to finish installing the decking after being out for most of last week with the flu. The process started by fairing the sub-decking. I wanted a rounded dashboard and a decking curve to match, so I left the dashboard slightly raised. Next I laminated any decking that was still bare. I was really surprised how much epoxy the wood soaked up, but two coats left it looking really nice and saturated. After came the installation. I did the large piece over the bow along with a small piece next to it all at once, and then did the rest of the decking during a second time. I used a combination of screws and weights to hold the decking in place while the epoxy set.

I also cut out the hatch for the gas tank. Using an utility knife I traced the hatch and cut along my lines, making passes until my knife was through. It worked pretty well and made nice straight cuts.

I flipped the boat today and have started sanding. Next I'll use a fairing compound to fill any low spots, and hope to get my garage ready to paint. There's not much room so I'll have to get creative.


Friday, August 16, 2013

Music Installation (BIG Jambox)

While I was waiting for some more plywood to come in I started to mess around with the music situation. This spring I purchased a marine battery to go with two marine speakers and a deck I had from a previous boat. My original plan was to put the marine battery in the back of the boat next to the gas tank and mount the two speakers and deck somewhere under the plywood decking towards the tip of the bow. After getting the outboard on I decided there would likely be too much weight in the back of the boat and started to worry about proposing and planing ability.

I decided to look into a wireless speaker. I came across the 'BIG Jambox' and after reading some reviews I purchased it ($249). It's pretty pricey but it's compact, light weight, and has decent sound (great high end but not the best low end). Another thing I liked was its Bluetooth capabilities. All I have to do is turn on the Big Jambox, turn the Bluetooth setting on in my phone, and I'm ready to play music. This will work great for streaming Pandora. Of course, the BIG Jambox also has an AUX cable so I can plug it into an mp3 player.

I made a box for it, with room around the speaker but still a snug fit, and then mounted it to the main decking beam. I plan on putting something small around the front to hold it from falling out.


As a side note, my plywood came in today and I have it mostly cut except for the hatch.